


Restoring Vintage Flooring
Vintage flooring adds a unique and timeless charm to any space. Whether you have inherited vintage flooring or have acquired it from a salvage yard, restoring it to its former glory can be a rewarding and enjoyable project. Restoring vintage flooring requires careful planning, patience, and the right tools and materials. In this article, we will guide you through the process of restoring vintage flooring, helping you bring back the original beauty and character of your floors.
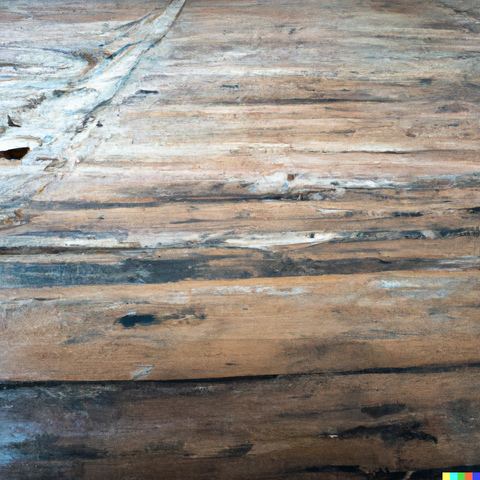
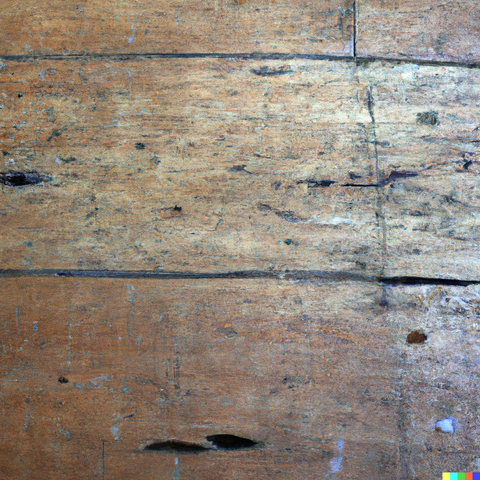
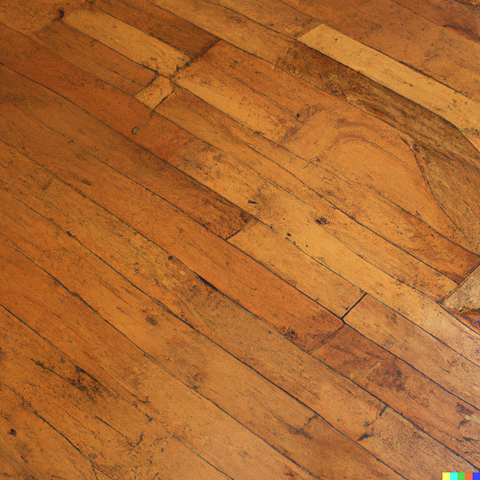
Assessing the Condition of the Flooring:
The first step in restoring vintage flooring is to assess its condition. Inspect the entire flooring for any damages, such as cracks, gaps, or rotten wood. Note down any areas that require special attention or repair. This assessment will help you develop a plan and gather the necessary materials for the restoration process.
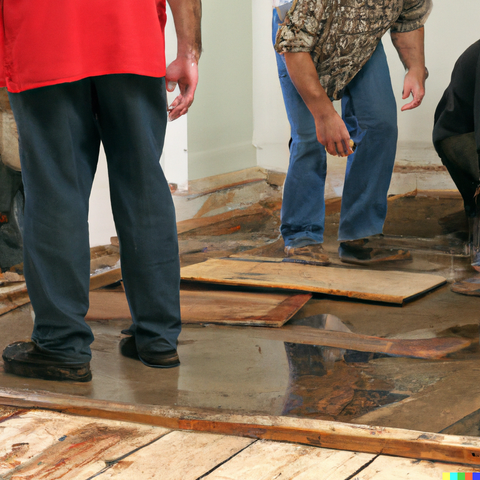
Preparing the Work Area:
Before starting any restoration work, it is essential to prepare the work area properly. Begin by removing any furniture, rugs, or objects that may hinder your progress. Cover vents, windows, and doorways with plastic sheeting to protect the rest of the space from dust and debris generated during the restoration process. Ensure proper ventilation in the room to facilitate the drying process of the flooring finishes.
Removing Old Finishes and Paint:
To restore vintage flooring, you need to remove any old finishes and paint layers that may have deteriorated over time. Start by sanding the floor using a drum or orbital sander, using progressively finer grit sandpaper. This will help remove any stains, scratches, or paint layers that are present. Be cautious not to sand too aggressively, as it may damage the wood.
Use a scraper or chemical stripper to remove difficult-to-reach paint or finishes in crevices or corners. Once you have removed the old finishes, thoroughly clean the floor to remove any residue from sanding or stripping.

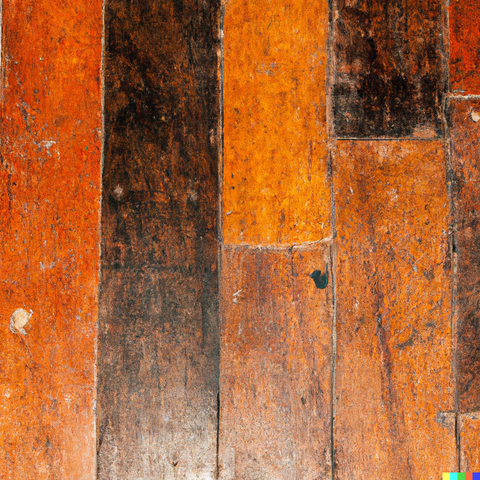
Repairing Damages:
After removing old finishes, it is time to address any damages to the vintage flooring. Fill cracks, gaps, or missing pieces with wood filler or epoxy appropriate for your flooring material. Ensure that the filler or epoxy closely matches the color of the wood to achieve a seamless finish.
Sand any excess filler until it is level with the surrounding surface. For severely damaged areas, consider replacing the affected sections with matching wood pieces salvaged from hidden or less visible areas.

Sanding and Refinishing:
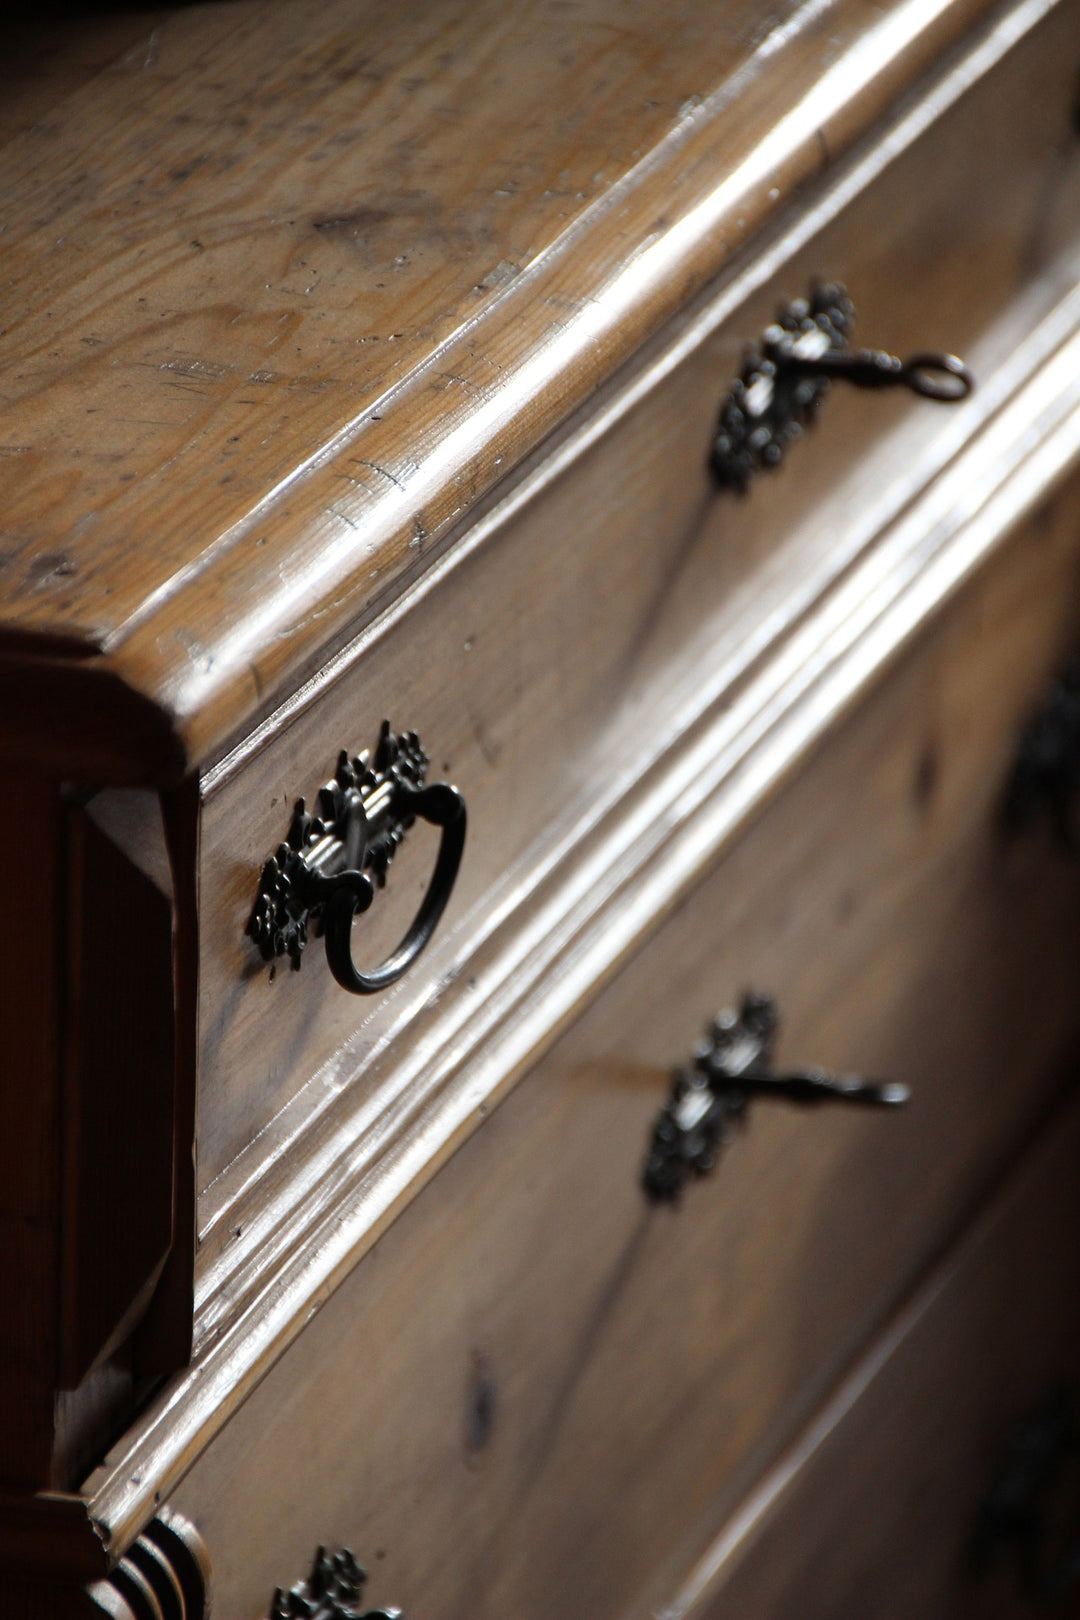
Once the repairs are complete, it is time to sand the entire floor to create a smooth and uniform surface. Begin with a rough grit sandpaper and gradually move to finer grits to achieve a polished look. Sanding should be done in the direction of the wood grain to avoid scratches. Pay special attention to the edges and corners, as they are susceptible to being overlooked during sanding.
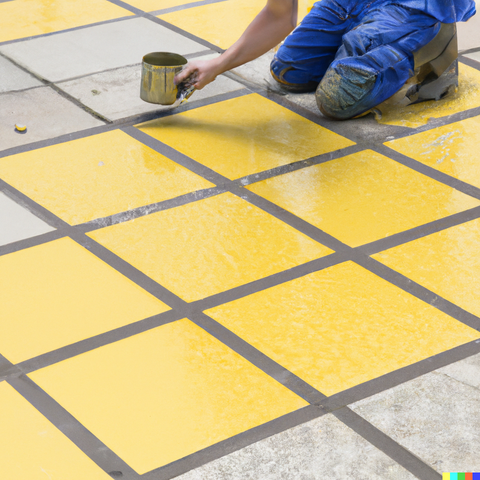
After sanding, thoroughly clean the floor to remove any dust or debris. Now, you can choose the appropriate finish for your vintage flooring. Traditional options like shellac or varnish can offer an authentic look, but newer options such as water-based polyurethane provide greater durability and ease of maintenance.
Apply the chosen finish according to the manufacturer's instructions, ensuring an even and thin coat. Allow sufficient drying time between coats, and lightly sand the surface between each coat for better adhesion.
Final Touches and Maintenance:
Once the final coat of finish has dried completely, it is time to add the final touches to your restored vintage flooring. Consider adding a protective layer, such as a floor sealant or wax, to increase resistance against scratches and stains. Additionally, install floor protectors on the bottom of furniture legs to prevent damage to the newly restored flooring. Regular maintenance is essential to preserve the beauty and durability of vintage flooring.
Sweep or vacuum the floor regularly to remove dirt and debris. Avoid using excessive water during cleaning, as it can damage the finish. Instead, use a damp cloth or mop with a mild cleaning solution specifically formulated for wood floors. Promptly wipe up any spills to prevent staining or warping.
Restoring vintage flooring is a labor of love that rewards you with a truly unique and timeless aesthetic. By assessing the condition of the flooring, preparing the work area, removing old finishes, repairing damages, sanding, refinishing, and practicing proper maintenance, you can return your vintage flooring to its former glory. Remember to take your time, employ the right tools and materials, and enjoy the journey as you uncover the hidden beauty of your vintage flooring.